In this post we’ll be doing a step by step guide where we go through the basics of how to build an App with Appanzee! It’s very simple!
Information!
Before reading this post, we recommend that you read the post “Understanding the Data Structure“.
In order to start building an App, you need a foundation to work on. We’ll be making an office supplies app so we can keep track of typical office supplies like paper, pens, etc…

Just like we said in the blog “Understanding the Data Structure“, we start by creating an App, assuming that you have an Organization.
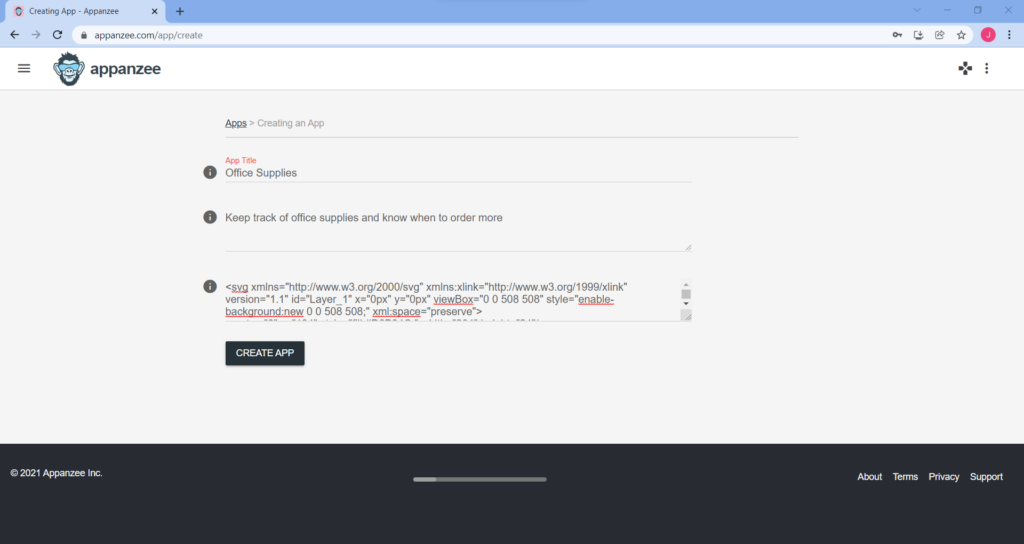
Give the new App a name, a description and add an SVG icon!
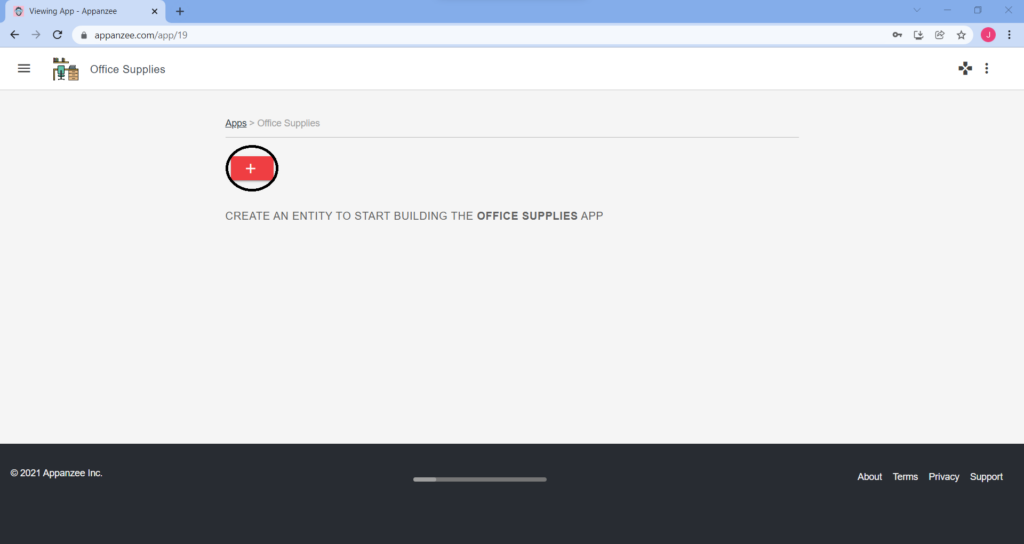
Now that the App is created, it’s time to start adding an Tab.
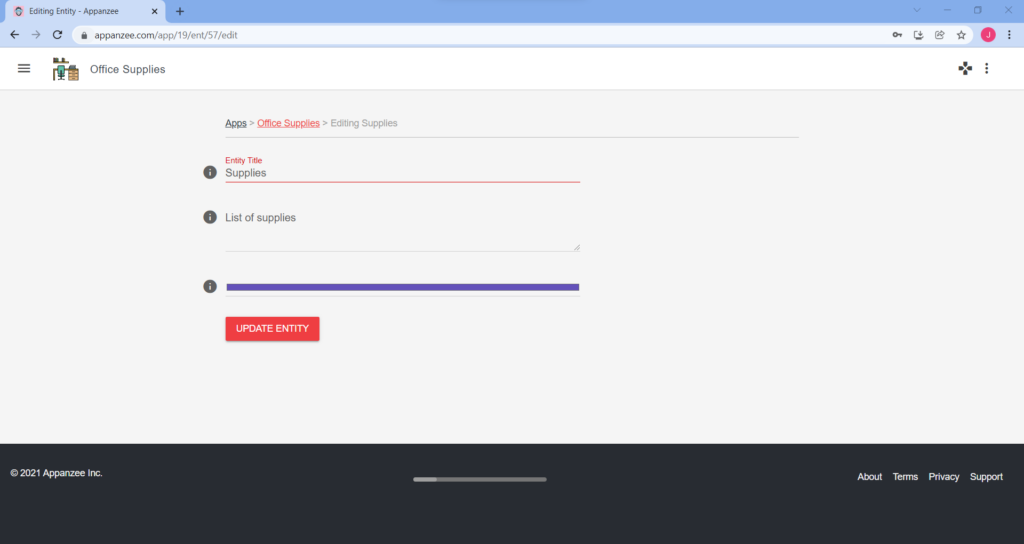
For this App we’ll add a new Tab called Supplies.
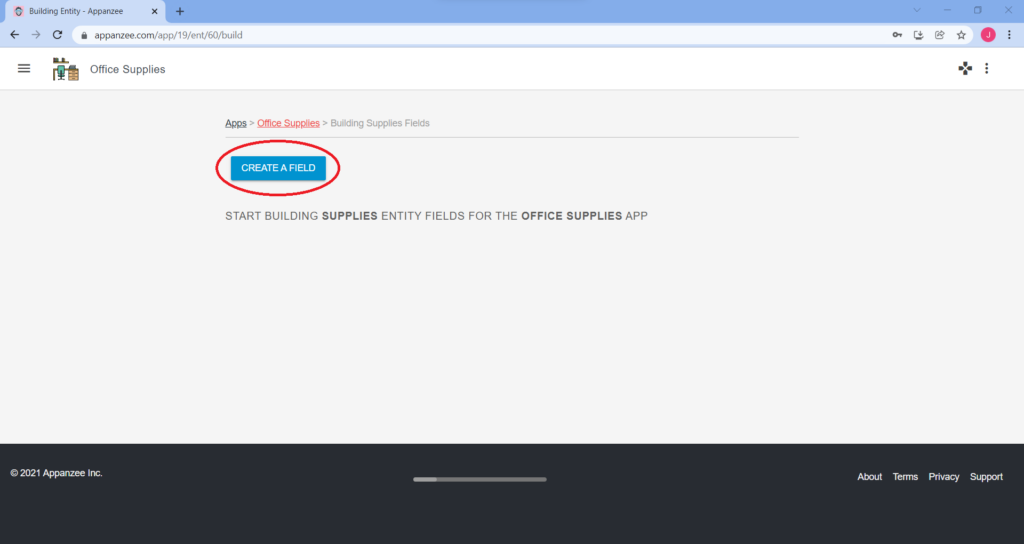
Next, we are going to add Fields.

Now we have different choices to make. We start by writing a Field name. We can call it “Item” to give it a name. We also have 4 toggles:
- “List?” This function let’s you see this field inside the Tab
- “View?” This function let’s you see this field inside the record view
- “Form?” This function let’s you edit that field later in the record edit view
- “Required?” This function make it required to enter data before saving
We also have something called “Kind”. This dictates what type of data you can enter (E.g., Text, Number, Checkbox, etc…)
For this field, we are going to add the following settings.

Then we create more Fields!
This field is for being able to give a unit to count with.
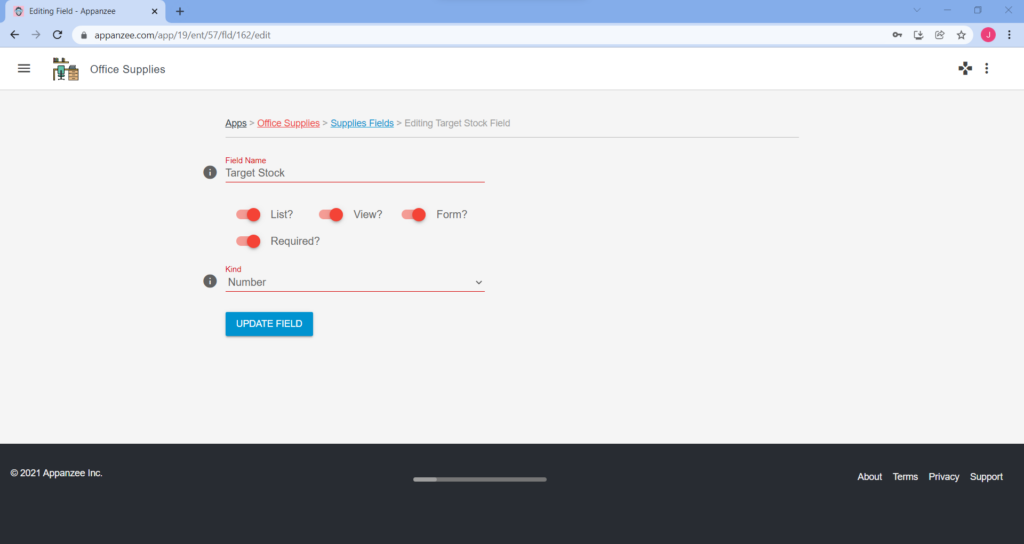
We use this field to give the item a target stock, basically how many items we should have in stock.

The “Reorder at” field is essentially to inform when to reorder supplies.
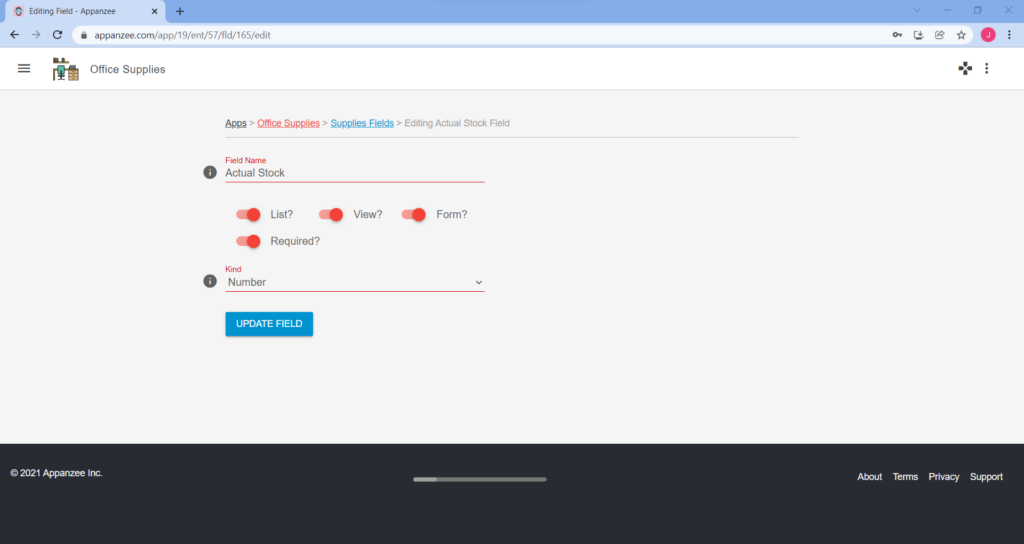
“Actual stock” is just a field to keep track of stock.
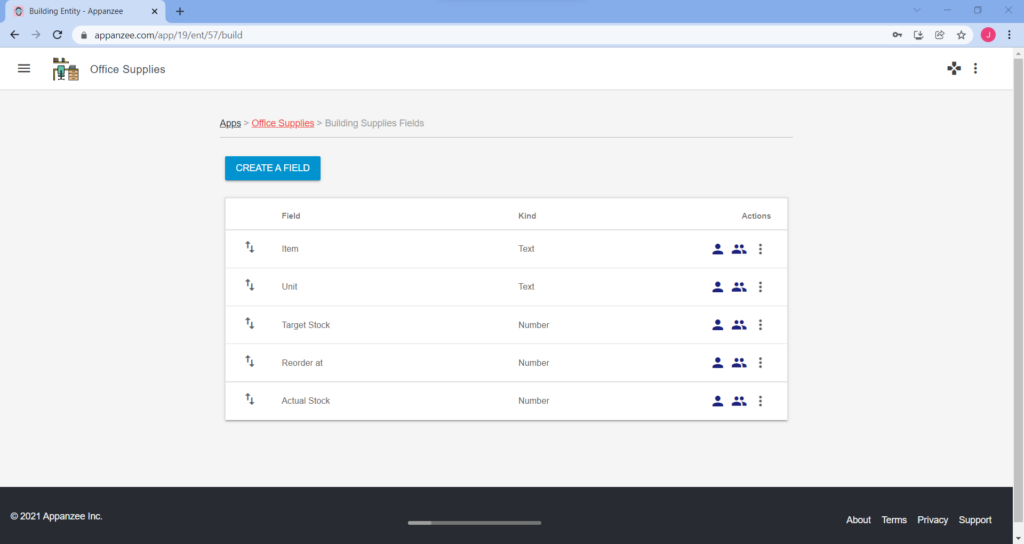
This is how your list of Fields should look like.
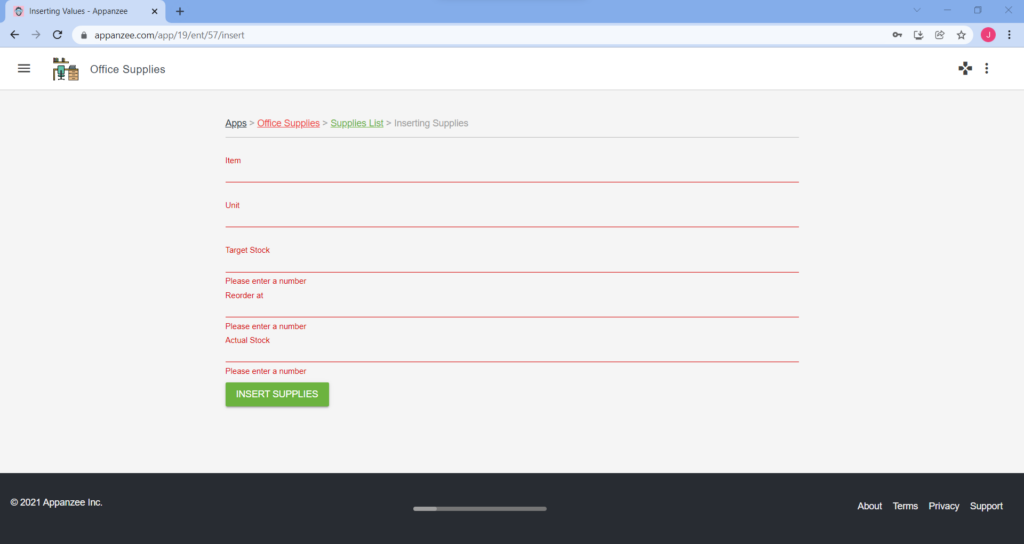
Now use the navigation menu above the Field to take a step back from creating Fields an get in to the newly created Tab and start writing data.
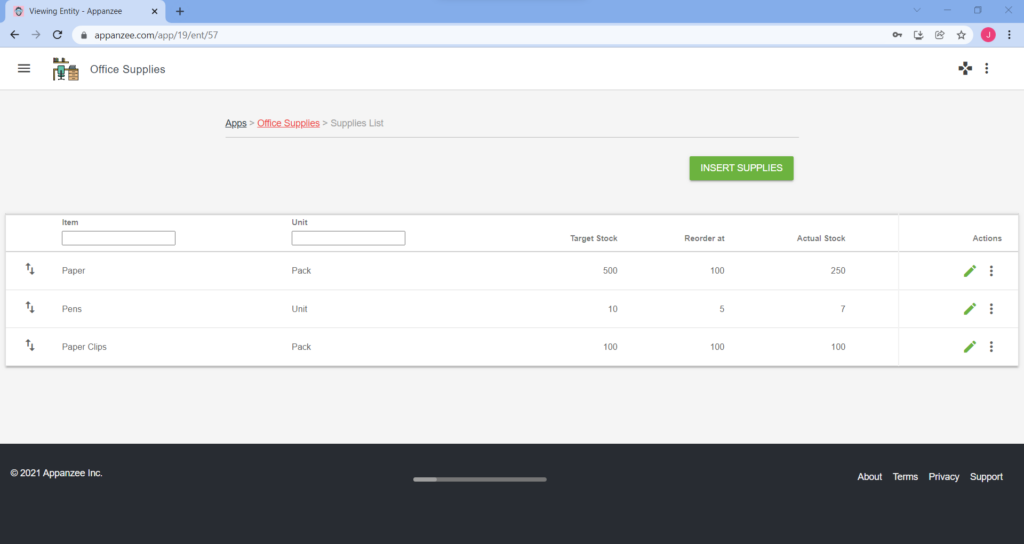
Now after creating some data, it should look like this.

Let’s create a second Tab so that employees can log when they have updated the information in the Supplies Tab.
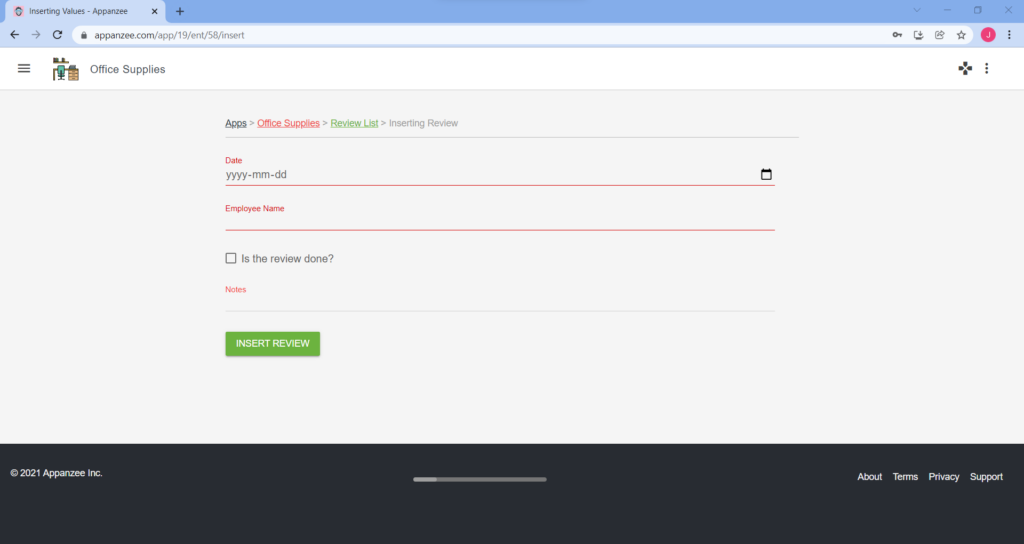
Let’s put in some information.
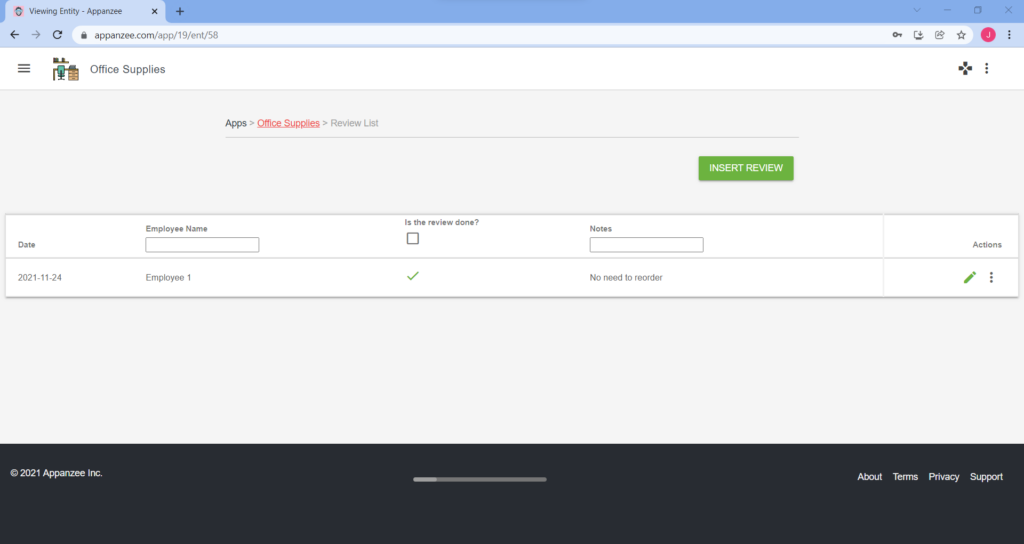
Add more information if you want to. Just press “INSERT REVIEW”.
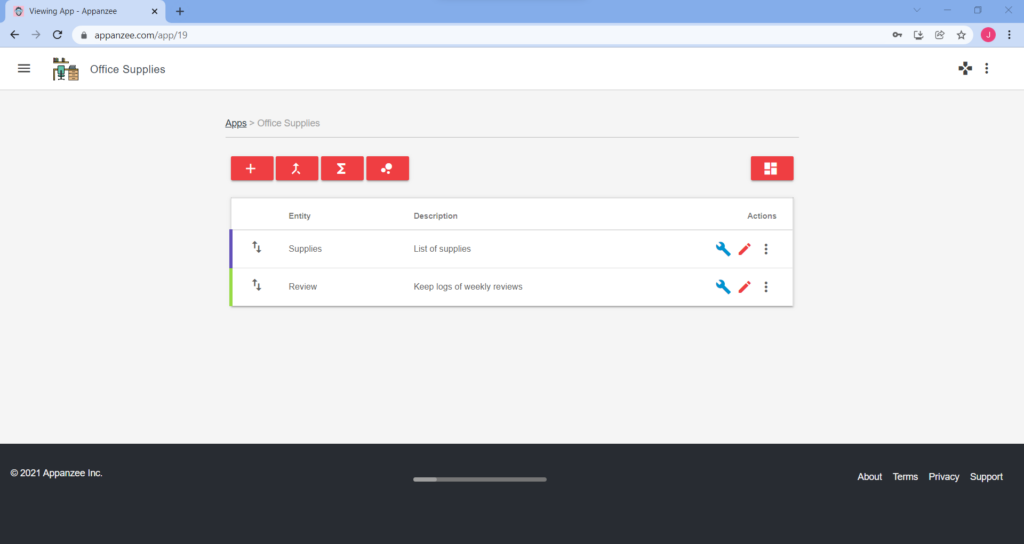
Use the navigation to go back to the Entities.
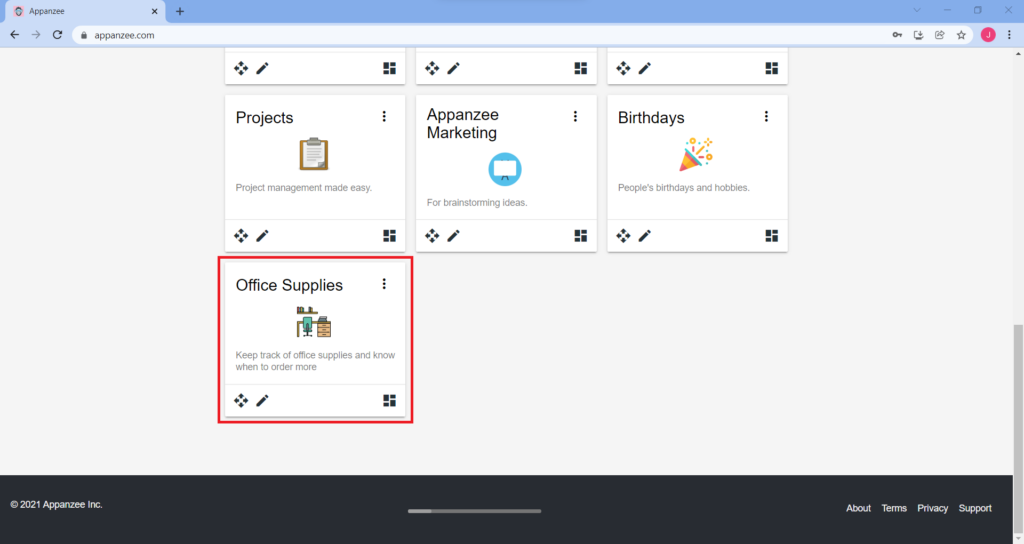
Congratulations! You have now successfully created your first App.
Pretty easy right?